Install the MeterMind firmware
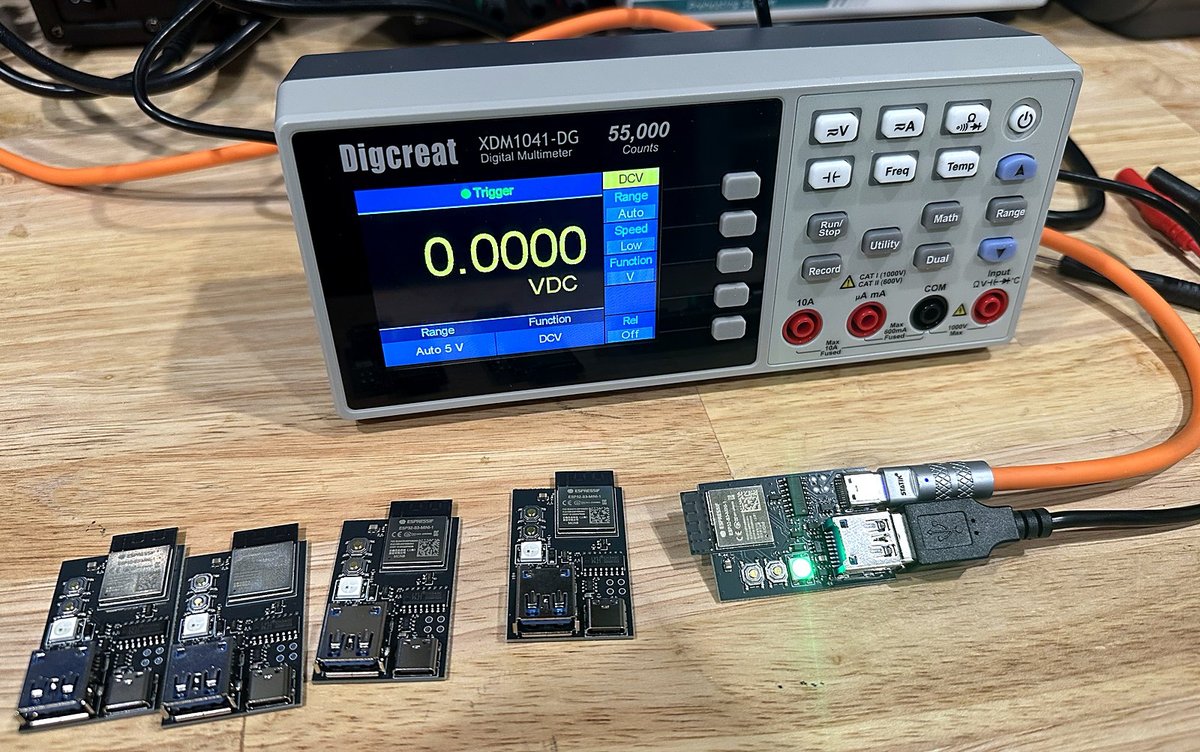
MeterMind lets an AI agent use an OWON XDM1041 bench multimeter directly (tested on the rebadged Digcreat XDM1041-DG). The board puts the meter on your WiFi with an MCP server for AI agents, a REST and WebSocket API, a dashboard that works like the meter's front panel, and raw SCPI.
Install from this page
- Connect the MeterMind board's USB-C port to this computer. Use a data cable; charge-only cables have no data wires.
- Press Install and pick the board's port: USB Serial or CH340 (on a Mac,
cu.usbserial-…). - On a first install leave Erase device ticked. When updating, untick it to keep the saved WiFi network.
Then connect it to your WiFi
- The status LED blinks blue: the board has opened its own network, MeterMind-XXXX. Join it from a phone or laptop.
- The setup page opens by itself (or browse to
http://192.168.4.1/). Pick your network (2.4 GHz), enter its password and press Join network. - Rejoin your own network and open http://metermind.local/. Plug the meter into the board's USB-A port; the LED turns green.
To change the network later, hold the BOOT button for 3 seconds.
Prefer the command line?
Download the complete image and write it at offset 0 with esptool. Like Erase device, this also clears the saved WiFi network.
esptool.py --chip esp32s3 write_flash 0x0 metermind-full.bin
If it does not work
No port in the list. Try another cable or USB port. Windows may need the WCH CH340 driver; on Linux, add yourself to the dialout group.
"Failed to initialize" or the install stops. Hold BOOT, press and release RESET, release BOOT, then press Install again.
The page has no Install button. Open it in Chrome or Edge; Safari and Firefox do not support USB serial.